Do you feel overwhelmed by the world of home brewing due to a plethora of equipment and supplies? It’s important to know that over 1.1 million people in the US are making their own beer at home using basic brewing kits.
This comprehensive guide will simplify your path into homebrewing, identifying essential tools and giving clear instructions on how to use them. Ready for an exhilarating journey into crafting your very own pint?.
Key Takeaways
- Brewing equipment and supplies, such as a brew kettle, mash tun, fermenter, airlock, bottles, bottle capper, and sanitizer are essential for homebrewing.
- Proper sanitization of brewing equipment is crucial to prevent contamination and off – flavors in homemade beer.
- The brewing process involves steps like sanitizing, mashing (extracting sugars from grains), wort boiling (killing bacteria and extracting flavors), fermentation (yeast converting sugars into alcohol), and kegging or bottling the beer.
Essential Brewing Equipment and Supplies

The essential brewing equipment and supplies include a brew kettle, mash tun, fermenter, airlock, bottles, bottle capper, and sanitizer.
Brew Kettle
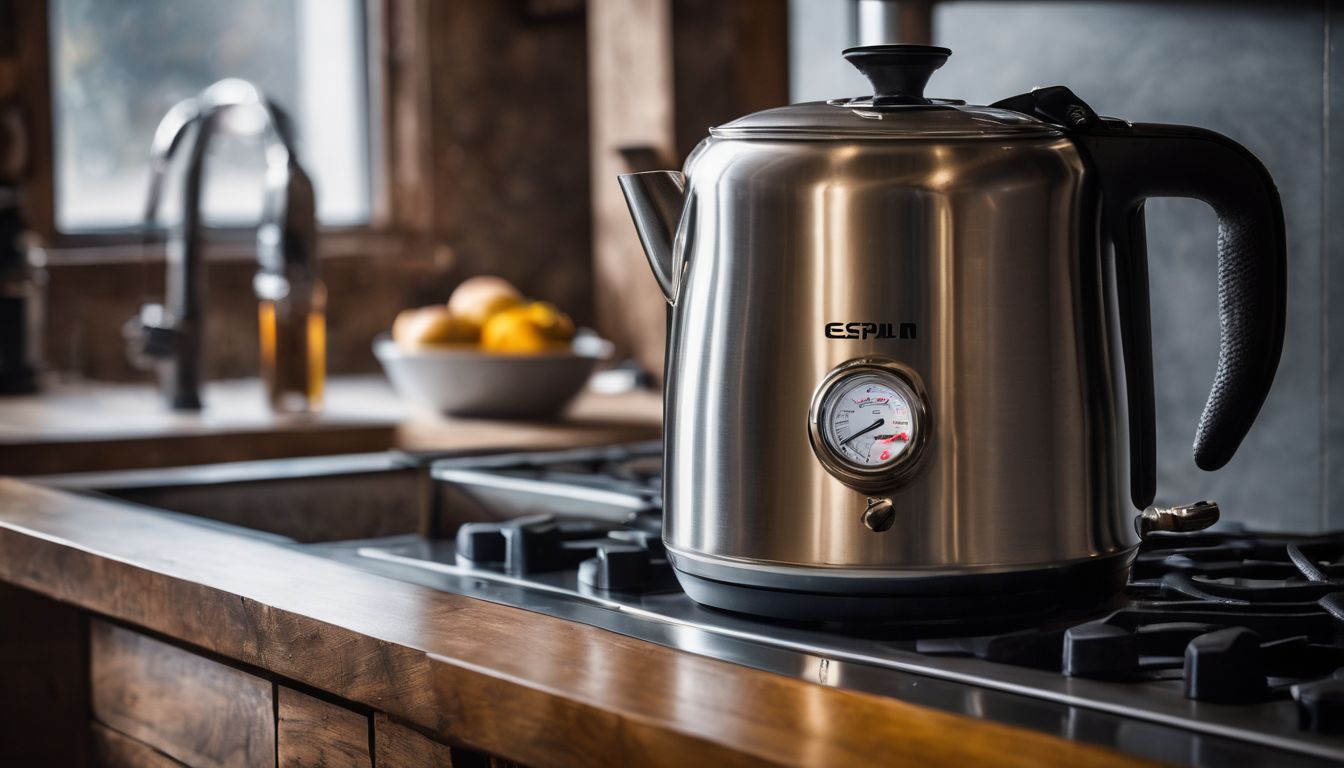
A brew kettle is a very important tool for making beer at home. This large pot holds the mix of water and grains. Heat makes this mix change into a sweet liquid with lots of flavor.
The right size and type of brew kettle can make your brewing easier and better. Some kettles are even made from stainless steel to last long in use. Using a good brew kettle helps you make great beer every time!
Mash Tun

A mash tun is an important piece of brewing equipment used in the process of making beer. It’s where grains are mixed with hot water to extract sugars and flavors. The mashed grain mixture, called the “mash,” needs to be kept at a specific temperature for enzymes to convert starches into fermentable sugars.
Mash tuns can be made of stainless steel, plastic, or even coolers converted for brewing purposes. They often have a false bottom or a manifold system that allows the liquid wort (the sugary liquid extracted from the grain) to be separated from the spent grain.
This helps ensure a cleaner transfer and filtering process later on in the brewing process.
It’s essential for homebrewers because it allows them more control over their recipes by giving them flexibility in adjusting mash temperatures and volumes according to their preferences and beer style requirements.
Additionally, some advanced homebrewers may use multiple mash tuns for step mashing techniques or decoction mashing methods, which create different flavor profiles in the final beer product.
Fermenter
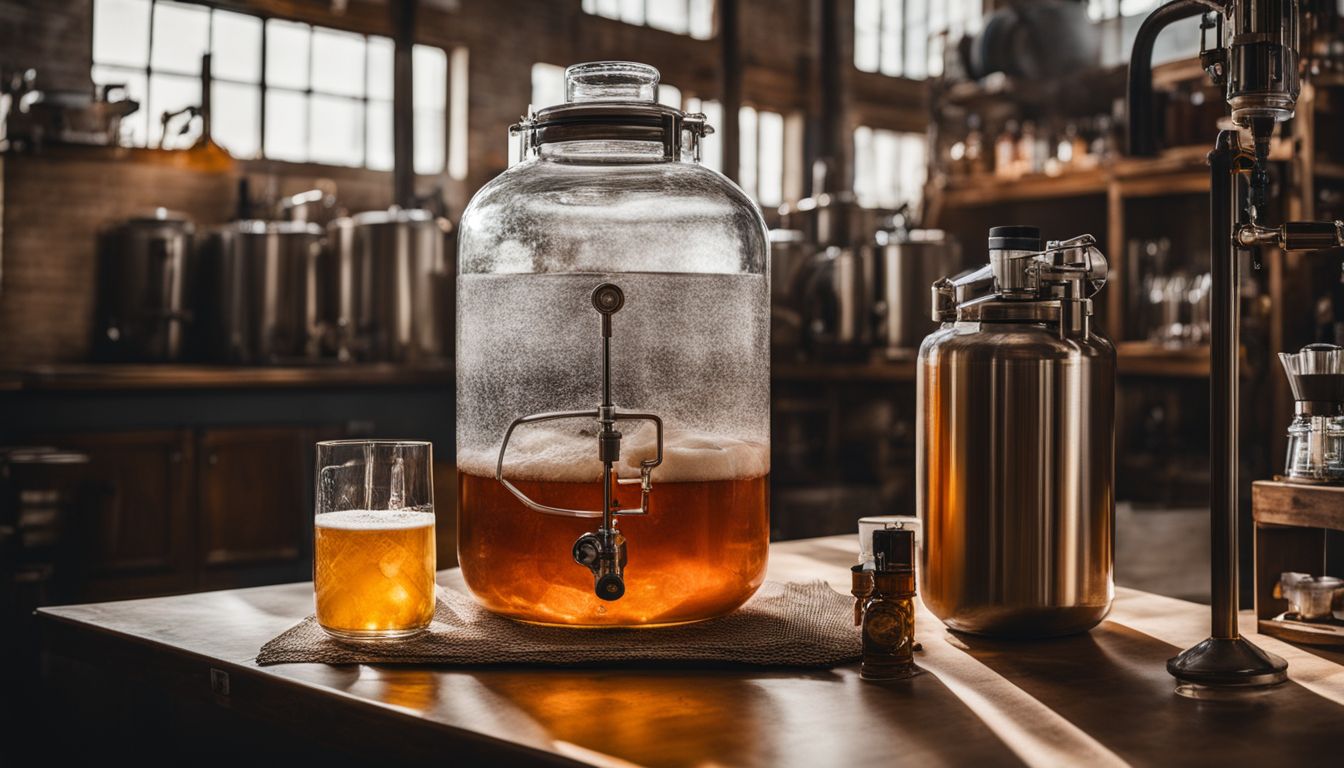
The fermenter is an important piece of equipment in the brewing process. It is where all the magic happens as yeast converts sugars into alcohol and carbon dioxide, giving beer its flavor and fizz.
There are various types of fermenters available, such as glass carboys or plastic buckets with airlocks to allow gas to escape without letting oxygen in. They come in different sizes to accommodate your batch size.
A good-quality fermenter will help ensure a clean fermentation and produce great-tasting beer. Proper cleaning and sanitizing of the fermenter are crucial to prevent contamination and off-flavors in your brew.
Airlock
An airlock is an important tool in the homebrewing process. It helps to keep unwanted bacteria and oxygen out of your fermenter while allowing carbon dioxide to escape. This little device fits onto the top of your fermenter and has a small chamber filled with water or sanitizer.
As fermentation occurs, carbon dioxide bubbles through the liquid inside the airlock, creating a barrier between your beer and any outside contaminants. Using an airlock ensures that your beer stays clean and free from off-flavors.
So, be sure to include an airlock as part of your essential brewing supplies!
Bottles
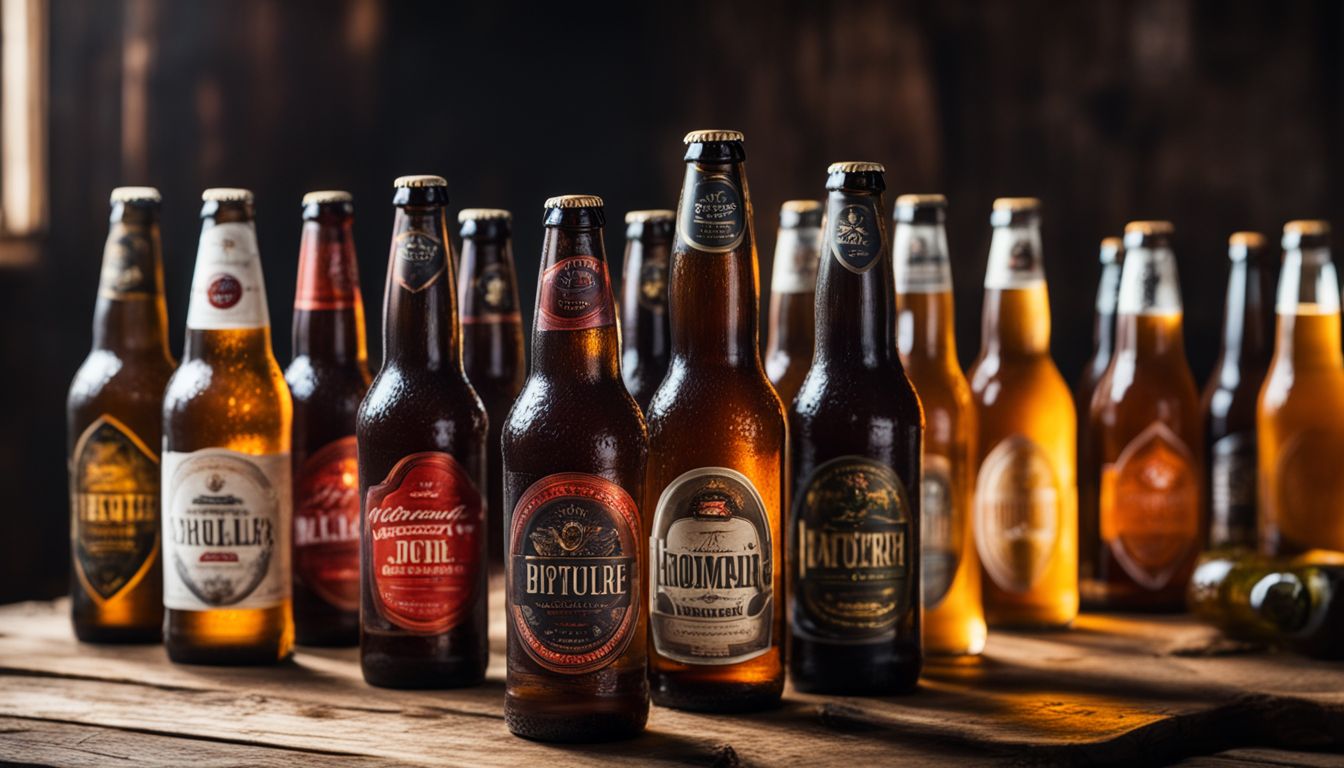
To bottle your homemade beer, you will need clean and sanitized bottles. Most brewing equipment kits come with everything you need, including bottle brushes, siphons, tubing, and sanitizers.
It’s important to use bottles specifically made for bottling beer, as they are designed to withstand the pressure of carbonation. Glass bottles are a popular choice because they are reusable and don’t absorb flavors or smells.
Make sure to clean them thoroughly before sanitizing them using a sanitizer solution. Once your beer is ready for bottling, use a bottle filler or auto-siphon to fill each bottle and cap them tightly with a bottle capper.
Bottle Capper

The bottle capper is an essential tool for homebrewers when it comes to bottling their beer. It allows you to securely seal your bottles to keep the carbonation in and prevent any leaks.
The capper works by using a lever or handheld mechanism to crimp the bottle cap onto the bottle neck. This ensures a tight seal that will keep your beer fresh and carbonated for longer periods of time.
Most brewing equipment kits come with a bottle capper, along with other necessary tools like bottling buckets, siphons, tubing, and sanitizers. So if you’re planning on homebrewing, make sure you have a reliable bottle capper as part of your brewing arsenal.
Sanitizer
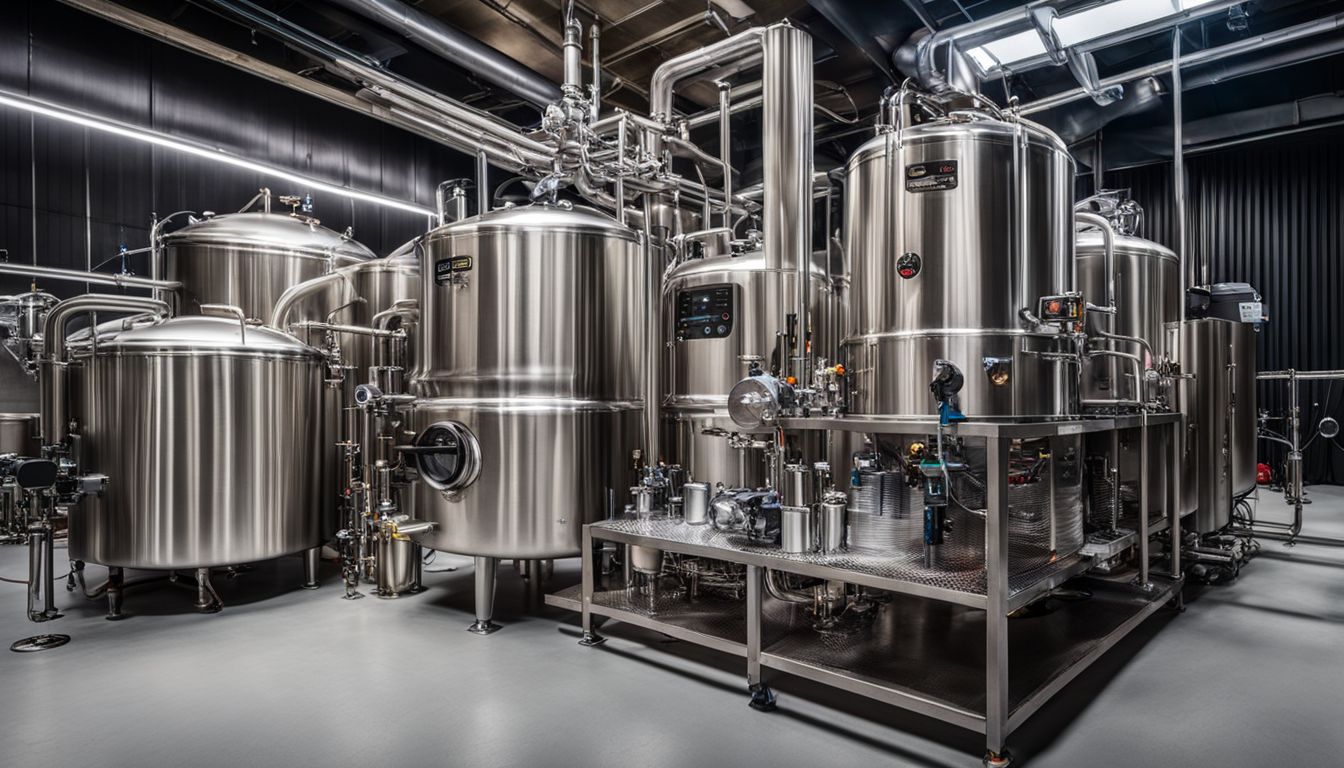
Sanitizing is a crucial step in the brewing process. It helps to kill bacteria and other microorganisms that could contaminate your beer and make it taste bad. Using a sanitizer ensures that your equipment, such as bottles and fermenters, are clean and safe to use.
Most brewing equipment kits come with sanitizers, making it easy for you to keep everything clean. Sanitizing should be done before and after each use of your brewing equipment to maintain proper hygiene.
The Brewing Process

Once you have gathered your essential brewing equipment and supplies, it’s time to dive into the brewing process. From sanitizing to fermentation, this guide will walk you through every step of creating your own delicious brew.
Sanitizing
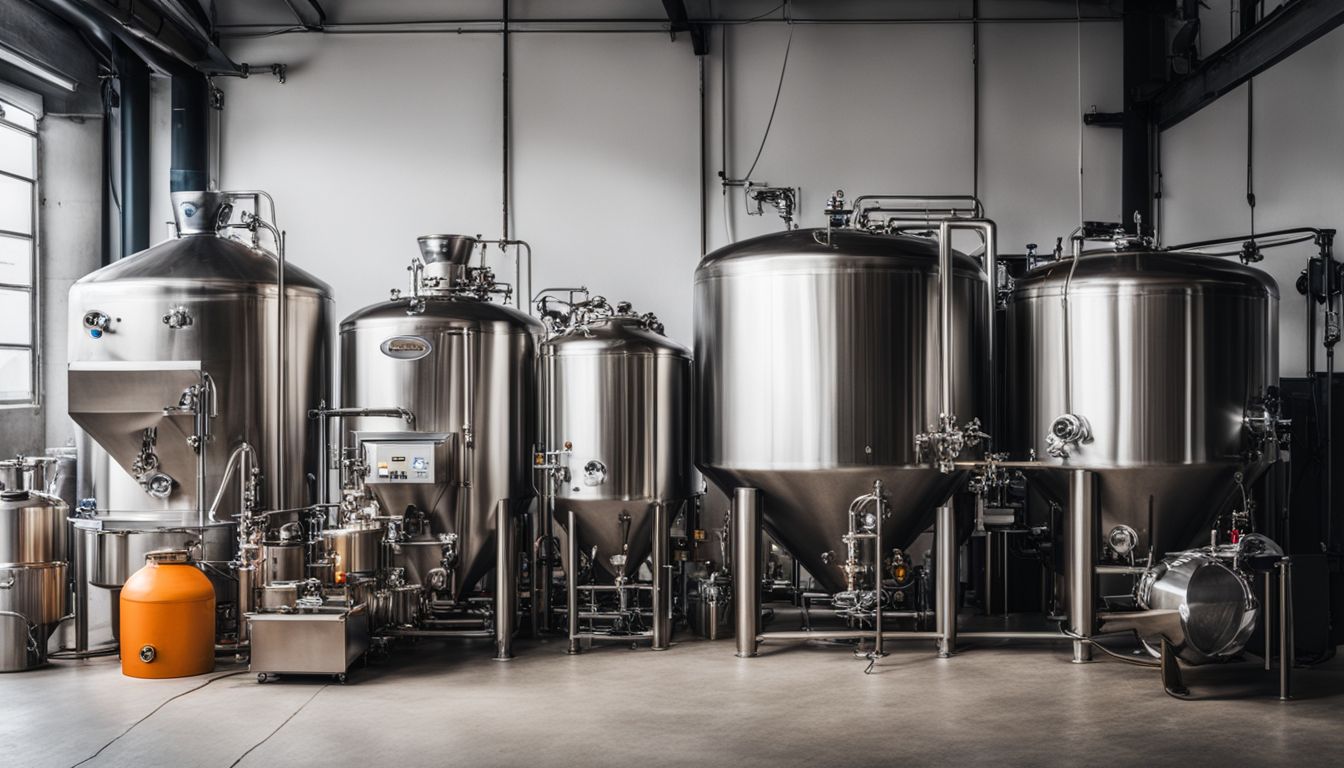
Sanitizing is a crucial step in the brewing process to ensure that your beer turns out clean and free from any unwanted bacteria or contaminants. It involves cleaning all your brewing equipment, such as fermenters, airlocks, bottles, and kegs thoroughly before use.
This helps to prevent any off-flavors or infections in your beer. Most homebrewing kits come with sanitizers that are safe for use on food-contact surfaces. Some popular options include iodophor or a no-rinse sanitizer like Star San.
By properly sanitizing your equipment, you can maintain the quality and taste of your homemade brews.
Mashing
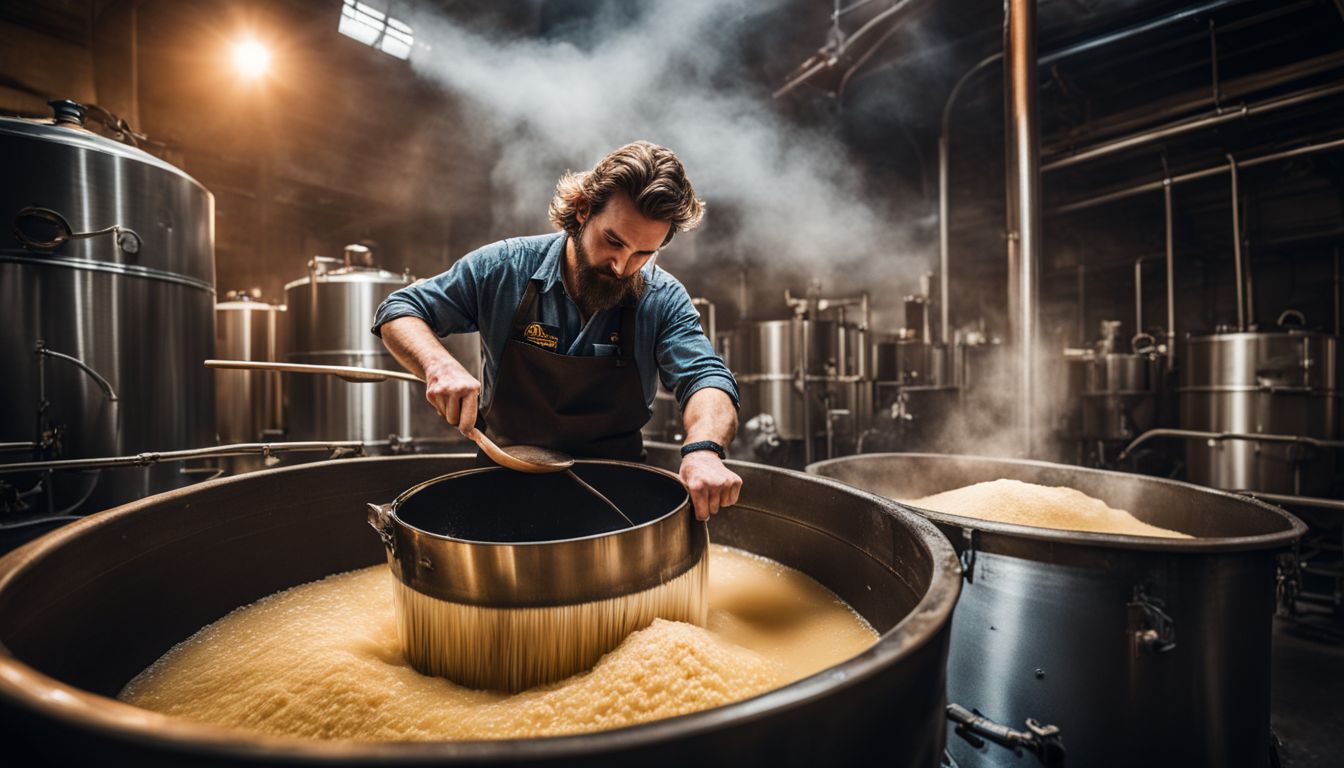
Mashing is an important step in the brewing process. It’s when you mix crushed grains with hot water to make a thick porridge-like mixture called mash. This helps extract the sugars from the grains, which will later be fermented into alcohol by yeast.
During mashing, enzymes in the grain break down starches into fermentable sugars. The temperature and duration of mashing can affect the beer’s flavor and body. After mashing, you’ll drain off this sugary liquid called wort, leaving behind the spent grains.
Mashing is just one part of making great beer at home or at a brewery.
Key facts:
– Mashing extracts sugars from crushed grains.
Wort Boiling
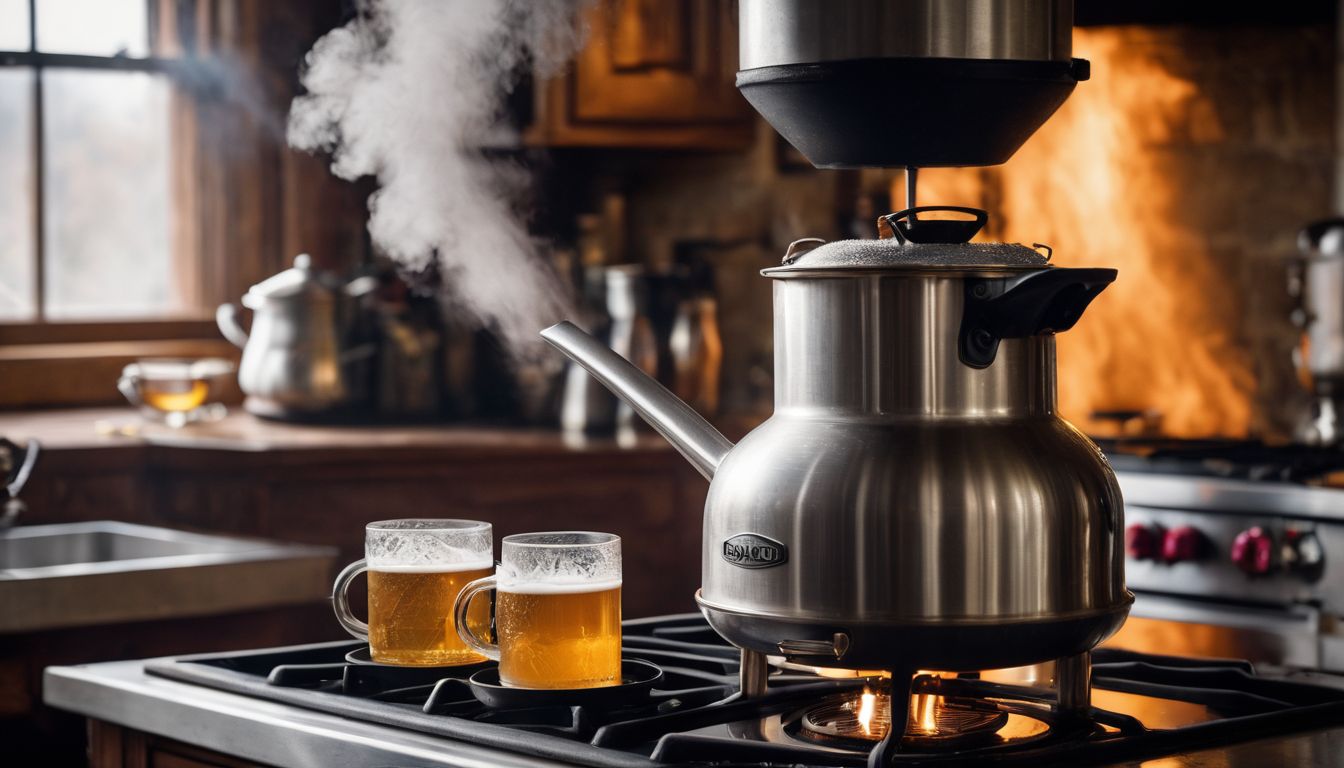
Wort boiling is an important step in the brewing process. During wort boiling, the mixture of water and malt extract is heated up to kill any unwanted bacteria or wild yeast that could affect the flavor of your beer.
It also helps to dissolve any remaining sugars and extract flavors from hops. This process usually takes around 60-90 minutes, depending on the recipe.
One essential tool for wort boiling is a brew kettle, which should be large enough to hold all your ingredients without overflowing. Stainless steel kettles are popular among homebrewers because they are durable and easy to clean.
To ensure a successful boil, it’s important to keep an eye on the temperature and adjust it as needed. You can use a thermometer to monitor the temperature throughout the boiling process.
During this stage, you may also add hops at different intervals to achieve desired bitterness and aroma in your beer. Hops added earlier in the boil will contribute more bitterness, while hops added towards the end will impart more aroma.
Fermentation
Fermentation is a crucial step in the brewing process. During fermentation, yeast consumes the sugars in the wort and produces alcohol and carbon dioxide. This is what gives beer its unique flavor and carbonation.
To ferment your beer, you will need a fermenter, which can be a glass carboy or a plastic bucket with an airlock to allow gases to escape. It’s important to keep everything clean and sanitized during fermentation to avoid any unwanted flavors or infections.
Fermentation typically takes about one to two weeks, but it can vary depending on the style of beer you’re making. Once fermentation is complete, you can move on to bottling or kegging your beer for further conditioning before enjoying your homemade brew!
Kegging and Bottling
After the fermentation process is complete, it’s time to keg or bottle your beer. Kegging is a popular option for homebrewers because it allows for easy dispensing and carbonation control.
With a kegging system, you can attach a CO2 tank to pressurize the beer and push it out of the keg. It eliminates the need for individual bottles and makes serving your beer more convenient.
Bottling, on the other hand, is a traditional method that many homebrewers still prefer. It involves transferring the beer from the fermenter into sanitized bottles using a siphon or bottling wand.
After filling each bottle, you will need to cap them with a bottle capper.
Both kegging and bottling require proper sanitization of equipment to avoid contamination and spoilage of your beer. You can use sanitizing solutions like iodophor or bleach diluted in water to clean all surfaces that come into contact with your beer.
When choosing between kegging and bottling, consider factors such as cost, convenience, and personal preference. Kegging requires additional equipment like CO2 tanks and regulators, which can be more expensive upfront but may save you time in the long run.
Homebrewing Techniques and Tips
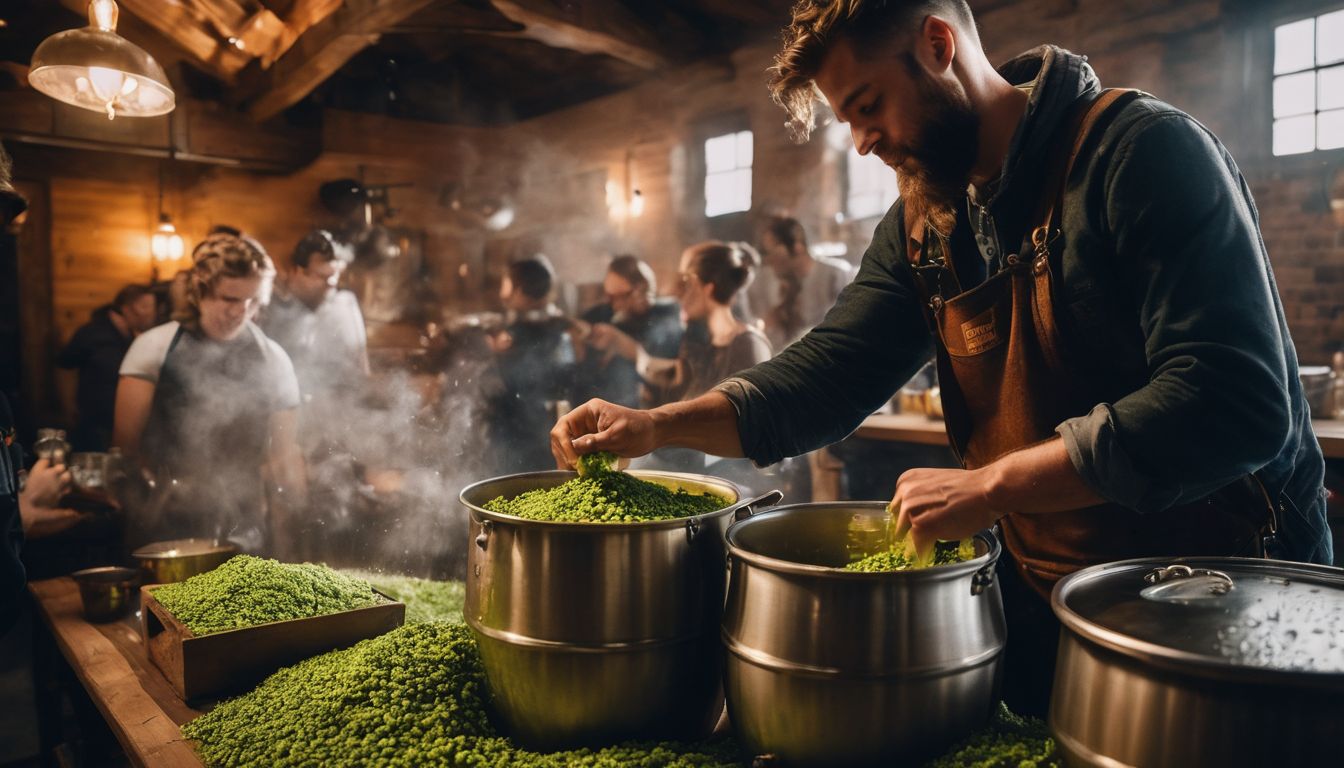
Learn expert tips and techniques like making a yeast starter, dry hopping, step mashing, and more to take your homebrewing skills to the next level. Discover how to avoid common off flavors in beer and achieve crystal-clear brews through beer clarification methods.
Dive into the world of homebrewing and unlock endless possibilities for creating unique and delicious beers. Read on for an in-depth exploration of these techniques and tips!
Making a yeast starter
To make a yeast starter for brewing beer at home, follow these steps:
- Get a clean jar or container with a lid.
- Add water and malt extract to the jar.
- Mix well until the malt extract is dissolved.
- Sprinkle in the yeast and cover the jar with a clean towel or plastic wrap.
- Let it sit at room temperature for about 24 hours, or until you see active fermentation (bubbles forming).
- Once the yeast starter is ready, you can add it to your main batch of beer wort to ensure a healthy fermentation process.
Dry hopping
Dry hopping is a popular technique in homebrewing that can add aroma and flavor to your beer. Here are some key things to know about dry hopping:
- Dry hopping is the process of adding hops to the fermenter during or after fermentation.
- It helps enhance the hop aroma and flavor in your beer.
- The hops used for dry hopping are typically in the form of pellets or whole leaf hops.
- Dry hopping is usually done for a few days to a week, depending on your desired level of hop character.
- The amount of hops used for dry hopping can vary depending on the recipe and personal preference.
- When adding hops for dry hopping, it’s important to make sure they are properly sanitized to avoid any contamination.
- Some brewers prefer using a hop bag or hop spider to contain the hops during dry hopping, while others add them directly to the fermenter.
- After the designated time for dry hopping, you can remove the hops from the fermenter before bottling or kegging your beer.
Step mashing
Step mashing is a technique used in the brewing process to create different flavors and characteristics in beer. It involves breaking up the mashing process into multiple steps with different temperatures. This allows for better control over the enzymatic reactions that convert starches into fermentable sugars. By following this method, brewers can achieve a more complex and nuanced flavor profile in their beer. Step mashing is commonly used in the production of lagers, where specific temperature ranges are crucial for achieving desired results. Some important facts about step mashing include:
- Step mashing helps unlock different enzymes at various temperatures, resulting in a wider range of fermentable sugars.
- The traditional step mashing process involves heating water and adding it to the mash at different intervals to reach specific temperature targets.
- Each step in the process usually lasts around 15 minutes to allow enough time for enzymatic reactions to occur.
- Certain enzymes are more active at lower temperatures, while others work best at higher temperatures. By adjusting the mash temperature during each step, brewers can encourage specific enzyme activity.
- Step mashing requires precise temperature control equipment, such as a mash tun with built-in heating elements or external heat sources like hot water infusion or direct heat.
- Brewers often use software or calculators to determine the correct temperatures and durations for each step based on their desired beer style.
- Step mashing can add complexity, body, and flavor to beer styles that benefit from a more intricate malt character.
Common Off Flavors in Beer
Beer can sometimes develop off flavors that affect its taste and quality. These off flavors can be caused by various factors, such as improper fermentation or contamination during the brewing process.
Some common off flavors in beer include:.
1. Skunky: This flavor is often caused by exposure to light, especially ultraviolet light. When hops are exposed to light, they release compounds that give the beer a skunky aroma and taste.
2. Diacetyl: Diacetyl is a buttery or butterscotch-like flavor that can occur when there are issues during fermentation or yeast management. It can also be a natural byproduct of some yeasts used in brewing.
3. Metallic: The presence of metallic flavors in beer can be due to contact with certain metals, such as copper or iron, during the brewing process.
4. Sourness: Sourness in beer can result from bacterial contamination during fermentation or aging processes.
5. Oxidation: Oxygen exposure can lead to oxidation in beer, causing stale or cardboard-like flavors.
Beer clarification
Beer clarification is an important step in the brewing process. It’s where any sediment or particles in the beer are removed, resulting in a clear and smooth drink. One common method of clarifying beer is called fining, which involves adding substances like gelatin or Irish moss to help attract and settle out any unwanted particles.
Another method is using filters to physically remove these particles from the beer. Clarification not only improves the appearance of the beer but also helps enhance its flavor and aroma.
So, if you want to enjoy a crystal-clear pint, make sure you clarify your homebrewed beer before serving it up!
The Cost of Homebrewing
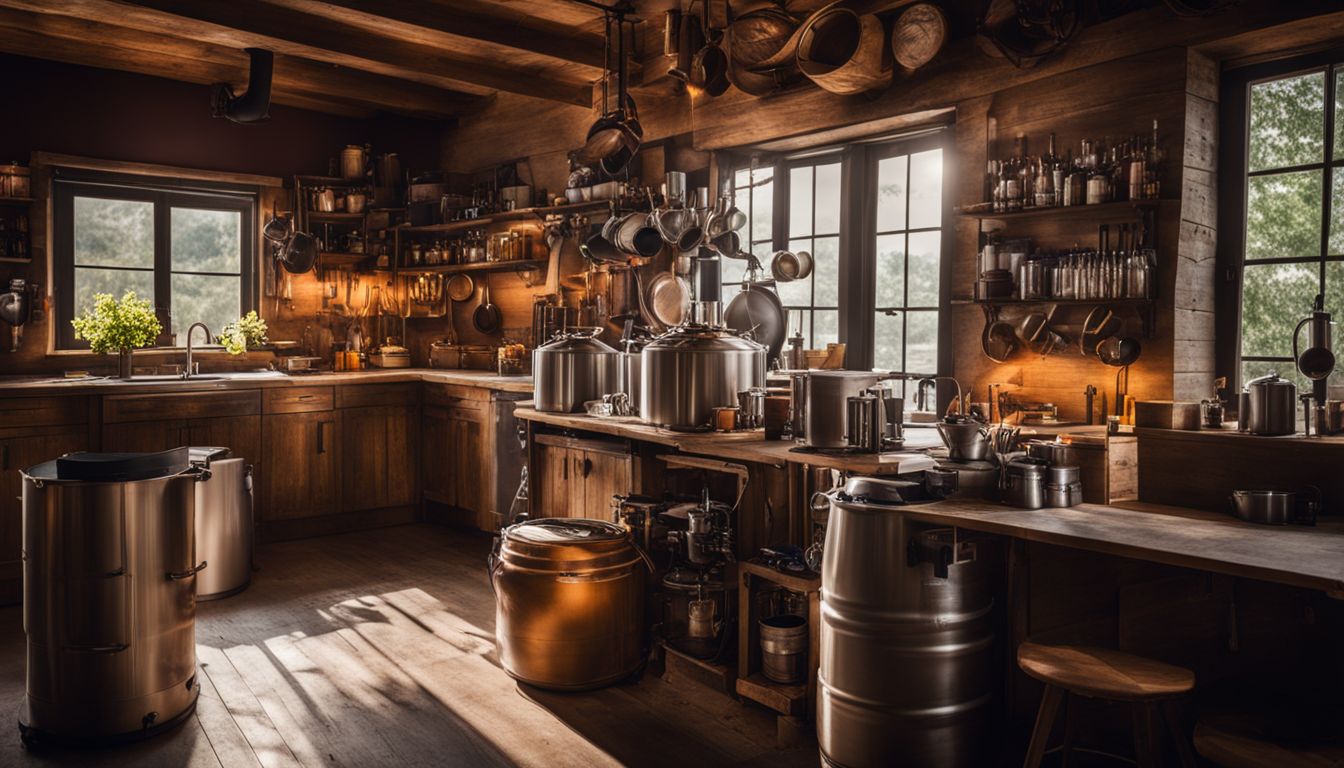
Discover the true expenses of homebrewing and learn cost-effective brewing tips to help you save money. Keep reading to find out more!
Overview of expenses
Brewing your own beer can indeed be a cost-effective activity, especially if you’re in the habit of regularly purchasing craft beers, which can be considerably more expensive than mainstream commercial ones. The following chart gives an overview of the initial expenses you’ll likely incur when starting up your homebrewing enterprise.
| Equipment/Supplies | Average Cost |
|---|---|
| Brew Kettle | £50 – £200 |
| Mash Tun | £60 – £150 |
| Fermenter | £20 – £100 |
| Airlock | £1 – £10 |
| Bottles | £12 – £35 per 12 pack |
| Bottle Capper | £10 – £50 |
| Sanitizer | £10 – £25 |
Do note that these are average costs and the actual prices may vary based on the location, the quality of the equipment, and the retailers. Additionally, most brewing equipment kits come with essential tools like bottling buckets, siphons, tubing, bottle fillers, cappers, bottle brushes, and sanitizers, which can reduce the overall cost. However, you will also need to take into account the recurring costs of ingredients such as hops, malt, yeast, and water. It’s also important to consider the energy costs associated with brewing, which may include the electricity or gas used for boiling the wort, as well as any cooling costs during the fermentation process.
Factors to consider
When choosing brewing equipment and supplies, beer drinkers should consider the following factors:
- Budget: Consider how much you are willing to spend on your brewing equipment. You can find options that fit different budgets, from basic starter kits to more advanced setups.
- Space: Think about the available space you have for brewing and storing your equipment. Consider the size of the equipment and whether it will fit comfortably in your brewing area.
- Brewing capacity: Determine how much beer you want to brew at once. This will help you choose the appropriate size of fermenters and kegs.
- Experience level: Consider your experience as a brewer. If you’re just starting out, it might be wise to invest in beginner-friendly equipment and supplies.
- Beer styles: Think about the types of beer you want to brew. Some equipment is better suited for specific beer styles, such as temperature-controlled fermenters for lagers.
- Cleaning and maintenance: Consider how easy it is to clean and maintain the equipment you choose. Look for materials that are durable and easy to sanitize.
- Future expansion: If you plan on expanding your brewing operation in the future, consider investing in equipment that can grow with your needs.
- Brewing process preferences: Think about whether you prefer traditional methods or if you’re interested in using more advanced techniques like electric brewing systems or automated controls.
Tips for cost-effective brewing
- Start with a basic homebrewing kit to save money on equipment.
- Buy brewing ingredients in bulk to get better deals and save money in the long run.
- Reuse yeast from previous batches instead of buying new yeast every time.
- Opt for dry hopping instead of using expensive hop varieties for added flavor.
- Consider step mashing techniques to maximize the efficiency of your brewing process.
- Learn to recognize common off flavors in beer so you can avoid wasting ingredients on brews that don’t turn out well.
- Use beer clarification methods like finings or gelatin instead of expensive filtering systems.
- Clean and maintain your brewing equipment regularly to extend its lifespan and avoid costly replacements.
- Plan your brewing schedule carefully to avoid wasting ingredients and resources on beers that may not be finished or consumed in time.
- Join a homebrewing community or club to share costs, tips, and resources with other brewers.
Remember, these tips can help you save money while still enjoying the art of homebrewing delicious beers!
Conclusion

In conclusion, “A Comprehensive Guide to Brewing Equipment and Supplies” is a valuable resource for beer drinkers interested in homebrewing. It covers everything from essential equipment and supplies to the brewing process and techniques.
With this guide, you can confidently start your journey into the world of brewing and enjoy making your own delicious beer at home. Cheers!
FAQs
1. What equipment do I need to start brewing?
To start brewing, you will need basic equipment such as a brew kettle, fermenter, airlock, thermometer, and hydrometer.
2. Where can I buy brewing supplies?
You can buy brewing supplies from specialty homebrew stores, online retailers, or even some general kitchenware shops.
3. How long does it take for the brewing process?
The length of the brewing process varies depending on the type of beer being brewed but generally takes around 4-6 weeks from start to finish.
4. Are there any safety precautions I should be aware of when brewing?
Yes, it is important to follow proper sanitation practices during the brewing process to prevent contamination. It’s also essential to handle hot liquids carefully and use protective gear like heat-resistant gloves if needed.
